
I still remember the first time I tried editing a photo.
I had taken a decent picture on my phone and wanted to make it “pop.” So, I downloaded a free editor, opened it… and immediately felt lost. There were so many buttons, sliders, and filters. I clicked everything. The result? A photo that looked like something from 2010.
That moment taught me something important: choosing the right image editor as a beginner makes a huge difference. It’s the difference between feeling confident and creative — or confused and overwhelmed.
If you’re just starting out and asking yourself, “Which image editor should I use?” — you’re in the right place. Let me share my journey and the tools I recommend for beginners.
Why the right image editor matters when you’re starting out
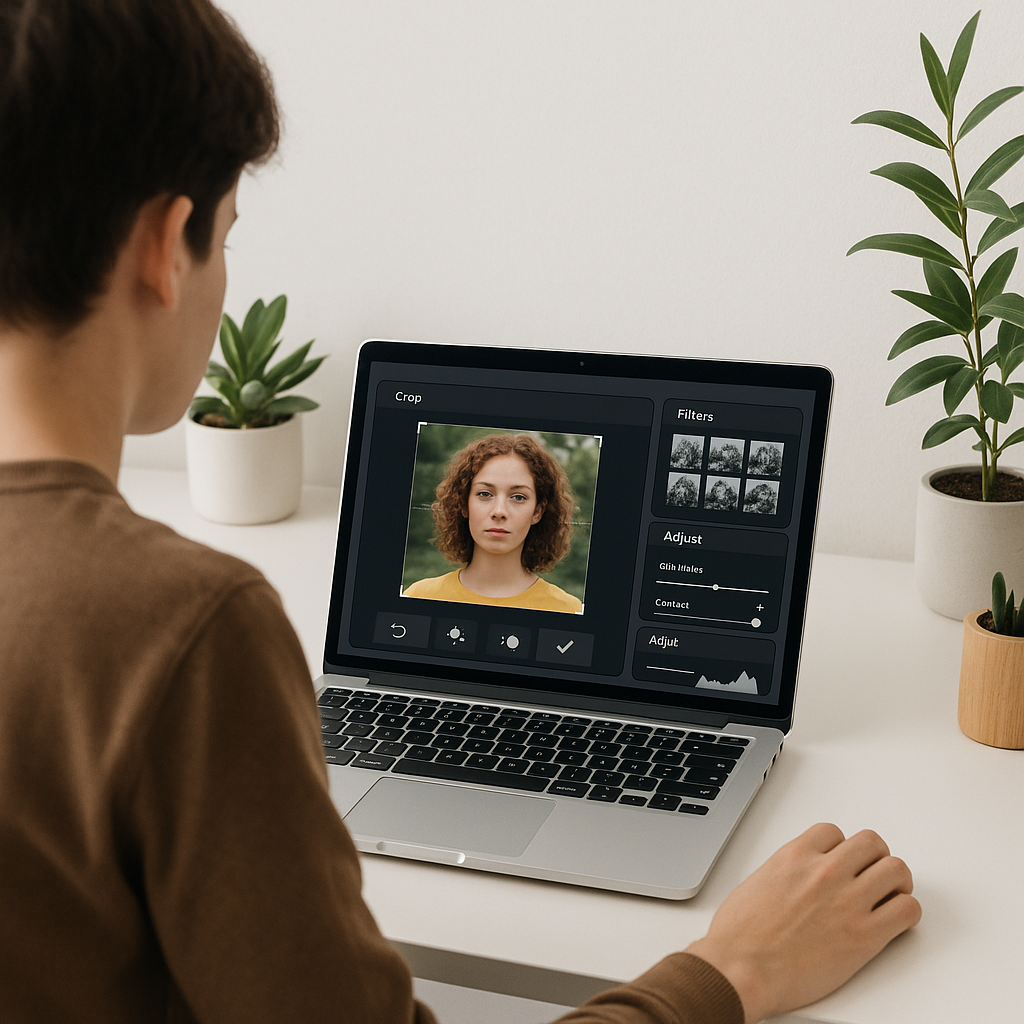
When you’re new to editing, you don’t need all the bells and whistles. You need tools that feel natural, clear, and friendly. After testing several editors, I realized that the best ones teach you as you go. They don’t overwhelm you, they let you play, experiment, and learn.
So, what should you look for in an editor as a beginner?
- A clean, intuitive layout (so you’re not constantly searching for basic tools)
- Tutorials or in-app guides to help you along the way
- Basic features that work well: crop, brightness, contrast, filters
Let’s dive into my favorite image editors for beginners and why they worked for me.
Canva – My go-to tool when I started
Canva is hands-down the most beginner-friendly editor I’ve ever used.
When I first started creating designs, Canva wasn’t just a photo editor — it was a full design platform. But when I needed quick edits for Instagram, blog banners, or YouTube thumbnails, Canva was perfect.
Why Canva works:
- Drag-and-drop interface: You don’t have to be a professional designer to use Canva. It’s so intuitive that anyone can create beautiful designs in minutes.
- Huge library of templates: Canva has a variety of pre-made templates that are perfect for beginners. You just drop in your images, adjust text, and you’re done!
- Basic tools like crop, filter, brightness/contrast, and text overlays: Canva covers all the essentials. I started by using the filter tool to enhance my photos and adjusting brightness/contrast to make them pop.
- Cloud-based — no download needed: I didn’t even have to worry about downloading and installing anything. It’s accessible from anywhere, which is a huge bonus for on-the-go editing.
What I love most? Canva makes you feel like a designer even when you’re not.
Bonus: It has a free plan that’s more than enough when you’re starting out.
Adobe Photoshop Express – Power in your pocket
When I first heard “Photoshop,” I panicked. I thought, “That’s serious software, right?”
But Photoshop Express changed the game for me. It’s a mobile version designed for casual users — perfect for editing on the go.
What you can do with Photoshop Express:
- Crop, rotate, straighten: These are the basics, but they go a long way.
- Apply filters and smart adjustments: It’s a fast way to give your photos a polished look without needing to learn complex tools.
- Retouch portraits (remove blemishes, whiten teeth, etc.): I used this tool when I started posting selfies online, and it really helped me polish my images quickly.
- Add simple text overlays: Adding text to photos is one of the easiest ways to personalize them.
It’s free, fast, and surprisingly powerful. I still use it today for quick Instagram edits straight from my phone.
GIMP – When you’re ready to level up
GIMP (GNU Image Manipulation Program) was my first taste of “real” photo editing.
It’s free and open-source — a true Photoshop alternative. But I won’t lie: the learning curve is steep. I only recommend GIMP if you’re ready to go beyond filters and start exploring layers, masks, and more detailed adjustments.
What makes GIMP worth learning:
- Works with layers (huge for detailed editing): This was a game-changer for me. I realized that layers allowed me to make non-destructive edits, meaning I could adjust elements of the design without messing up the whole image.
- Lots of plugins and add-ons: The best part about GIMP is the vibrant community that offers tons of resources. I downloaded several plugins that really enhanced my workflow.
- Completely free: For a free tool, GIMP offers professional-level functionality.
When I was ready to get serious about image editing — but couldn’t afford Photoshop — GIMP gave me the tools I needed to grow.
Fotor – Fast, simple, and surprisingly smart
Fotor surprised me.
I first used it when I needed to retouch some old family photos. What I found was a sleek, simple editor that gave great results with minimal effort.
Highlights of Fotor:
- One-tap “enhance” feature: This feature is a lifesaver when you need to make quick edits. I used it when I was rushing to finish an Instagram post and it made the photo look amazing instantly.
- Filters that don’t feel overdone: I’ve used Fotor’s filters extensively. Unlike other apps, they enhance the photo without making it look artificial.
- Beauty retouching tools (skin smoothing, red-eye removal, etc.): These tools helped me clean up portrait photos without making them look too edited.
Fotor is perfect if you want clean, polished edits with minimal input. It’s available both online and as a desktop app.
Pixlr – Two editors, one platform
Pixlr gives you two editing options:
- Pixlr X – beginner-friendly, clean, fast
- Pixlr E – more advanced, with layers and finer controls
I started with Pixlr X for blog photos and thumbnails. When I needed more precision, I switched to Pixlr E. The best part? Both are free and web-based. No downloads, just open and edit.
What makes Pixlr stand out:
- Modern interface: Pixlr’s user-friendly layout made the transition from beginner to more advanced editing easy for me.
- Support for PNG, JPG, and even PSD files: This was essential when I started working with more complex projects.
- Quick to load and very responsive: I was amazed by how fast Pixlr loaded, even with heavy images.
How to choose the right editor for you
You don’t need to try them all. After testing these editors, I’ve learned that the key is to choose the one that best matches your goals.
Ask yourself these key questions:
- What do you want to create?
If it’s social media posts, Canva is your best friend. For detailed photo retouching, try GIMP or Pixlr E. - How much time do you want to invest?
Some tools (like GIMP) require time to learn. Others (like Fotor) work instantly. - Are you on desktop or mobile?
Photoshop Express is excellent on mobile. Canva and Pixlr are better on desktop. - Do you care about cost?
All the tools listed here offer free versions — some with paid upgrades. Start with free and upgrade only if you need to.
Tips to get started faster (without getting overwhelmed)
Here’s what helped me build confidence when I started:
- Start with one goal in mind
Don’t open the editor and try to do everything. Focus on one task at a time — like cropping a photo and adjusting the brightness. That’s it. - Use templates when available
Templates save time and teach you layout and balance naturally. I often started with templates to learn the ropes of design before creating something from scratch. - Follow a tutorial
Whether it’s on YouTube or the editor’s help page, tutorials are a fast way to learn. Search for “How to edit a photo in Canva for beginners” and follow along. - Practice on duplicates
Always make a copy of your original image. This way, you can experiment without fear of ruining the photo. - Save your best edits
Create a folder for “My Best Edits.” Over time, you’ll see how much you’ve improved.
Mistakes I made that you can avoid
- Overediting — applying too many filters and ruining a good photo
- Ignoring keyboard shortcuts — they make you 10x faster
- Jumping between tools without mastering one
- Not backing up my edits
- Comparing my work to pros and giving up
Progress is better than perfection. Always.
Final thoughts from someone who started at zero
If you feel intimidated by photo editing — you’re not alone. I did too.
But once I found the right tools, something shifted. I started creating things I was proud of. I started sharing. And I started enjoying the process.
So don’t worry about being perfect. Just open one of these editors, play around, and make something.
Even if it’s a little rough at first, it’s yours — and that’s the first step in becoming a confident creator.
From zero to design hero — keep creating!
by Cris.